Trailer hook
As for the material of the trailer hook, there are practically two viable options: bronze and stainless steel (AISI 316). Bronze would be a completely rust-proof option, but bronze parts are more expensive, harder to find and slightly softer than steel. I therefore chose stainless steel.
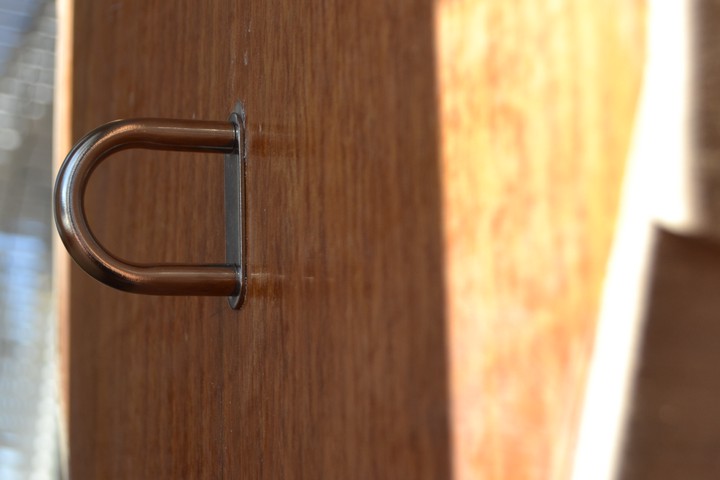
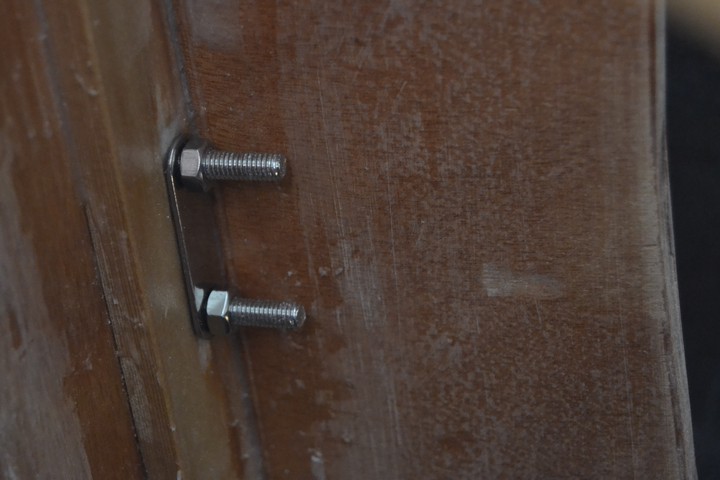
Attaching a stainless steel bow loop to wood is a bit more complicated than you might suddenly think. If the attachment is to be done correctly to prevent rusting of the stainless steel, the metal must be separated from the plywood all the way through the grommet. In practice, this is done by drilling the holes required for the bow loop larger than the fillet (10 mm). These holes are then plugged with epoxy. Once the epoxy has dried, new smaller holes (6 mm) are drilled through the epoxy-filled holes to allow the metal of the bow loop to pass through. The inner surface of the BH1 has a wooden slat to provide additional support.
Spacing the holes correctly and aligning the angle of the drill hole is an art in itself, requiring a bit of luck without special tools. If the hole placement goes badly wrong, you can always refill them with epoxy and then drill a new hole through the dried epoxy…
As you can see in the picture, I had to place the trailer loop a little asymmetrically because the stem was in the way. If I had known this when sawing the stem, I would have made it a little longer at the BH1 and made a small curve in the stem at the point where the bow loop attaches. Well, if you look closely at pictures of American Scamps, you can see they clearly have had a similar challenge. Still, there are some boats with the bow loop perfectly in the center. It would be interesting to know how they have solved this problem.
| Next: | Deck |
| See also: | Building Merisirri |

